I’m Dan, and I designed and 3D printed several things for my wedding back in March of 2016. I wanted my wedding to have custom touches, to be meaningful for my family and friends and not just a commercialized, cookie cutter event. I could have gone the DIY route, but why pull out the hammer and saw when I could simply design something, upload the file and have it made professionally instead?
For the uninitiated, it may sound hard to design a ring, but it’s more time intensive than difficult. It took four months start to finish. More time than shopping for a ring, sure, but the result was something completely personal and it cost at least 50% less than if I’d bought it retail from a major name brand, even with the design and jeweler fees and the multiple prototypes. This is how I did it.
Find an Experienced 3D Designer with Shapeways
I didn’t design the ring by myself. I knew I needed an experienced 3D designer, someone who had created settings before. Scott Denton, came highly recommended. I liked his aesthetic, that he’s based in New York, and is super chill. He made the process easy.
Be clear about the design you want
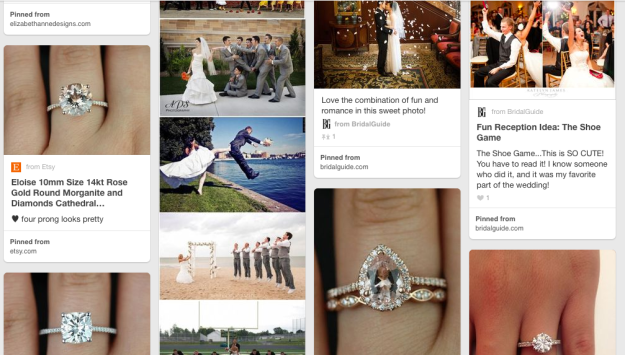
Jen made the design process easy too. She had a Pinterest board filled with engagement rings she liked. All I had to do was look through them to start compiling design themes; she liked clean simple styles, and also ones with antique engraved elements.
But I didn’t just want the ring to be beautiful, I wanted it to be functional, something comfortable that fit her lifestyle. She’s a dentist and constantly taking gloves on and off all day, so the setting couldn’t be big or too high. And her hands are small–a 3 ring size–so the design needed to be proportional.

Discuss Your Design With a Reputable Jeweler
While Scott or I could have attempted to set the stone ourselves, given the importance and cost of this ring, I wanted a professional to ensure the setting would last. Through personal recommendations, I found an experienced jeweler. He and I discussed the kind of ring I had in mind, and he gave a lot of great feedback on the kind of stone and setting I’d need. I recommend finding a professional for this and having a long conversation both to ensure they have the skills needed and that you’re designing your ring with the best setting in mind.
Buy a Stone
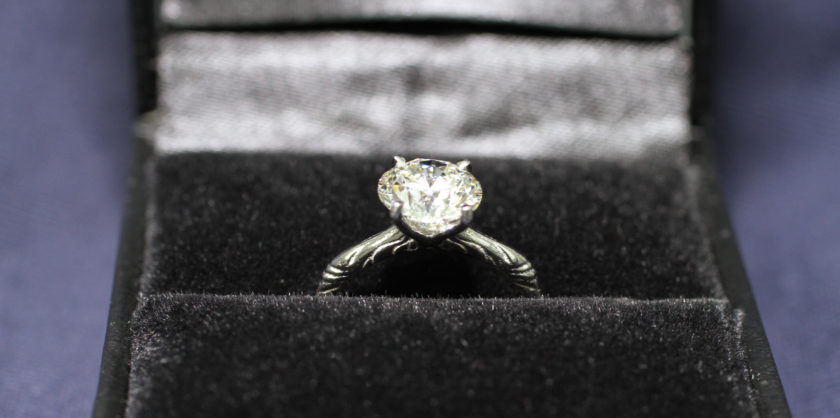
After considering my design and the conversations I had the jeweler, I settled on a stone size based on looking at diamonds in New York City’s diamond district. It’s pretty tricky to get a sense of how proportions will work by looking at pictures and renders so it’s helpful to take a look in person if you can, even if it’s a regular jewelry shop. I ended up buying the diamond wholesale in New York City but if there isn’t a wholesaler near you, there are some good online options, like Blue Nile.
Iterate Your Design
I spelled out my design ideas for Scott, sharing a few of Jen’s pins, and I also got him the exact dimensions of the diamond I’d bought along with her ring size. He came back with a rough sketch and we iterated the design from there, swapping sketches till we landed on the right design and it could be built out as a 3D file.
Prototype Your Ring
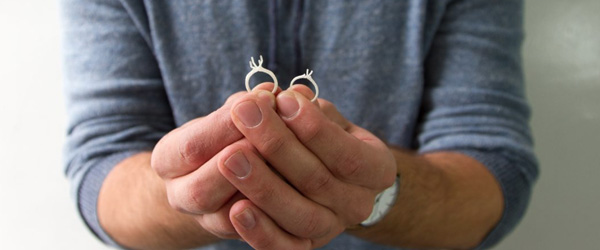
We prototyped it first in Fine Detail Plastic (FDP), one of Shapeways’ plastics, and realized the ring was too thin. The engravings also weren’t coming out as planned, even though they’d look great in the renderings. We thickened and beveled everything then printed in FDP again. Happy with that version, we tested it out in silver before doing the final print in platinum and having the jeweler set the stone.

PROPOSE!!🎉🎉🎉
The whole proposal was a surprise, including the ring, my renting out and decorating a lounge, inviting Jen’s close friends and family, and taking her there under the guise of our going to a friend’s Memorial Day BBQ. I was pretty sure the ring would be a good fit, but wasn’t 100% sure, and it wasn’t like I could return it, so was naturally nervous. But the fit was perfect, and she loved it! She talked about it nonstop and even ran up to strangers to show them how it was 3D printed. Oh, and she said yes, but you knew that already.
*updated by Liz Livi on 6/15/18


