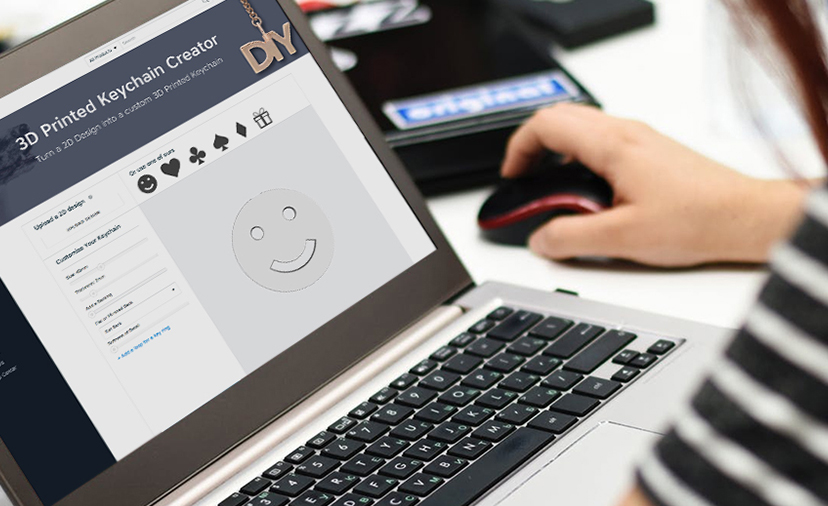
Here at Shapeways, we believe everyone has the potential to create something amazing; all you need are the right tools and support to bring your ideas to life. That’s why we’re so passionate about making 3D printing more accessible with easy-to-use 3D modeling tools and apps. One of our favorites is our 2D-to-3D app, which converts images and drawings into fully fledged, printer-ready 3D models. So if you’re new to 3D modeling or simply want to mock up a new design quickly, keep reading for our expert guide on how to go from 2D to 3D with ease!
![]() Step one: Upload Your Image
Step one: Upload Your Image
After opening the 2D-to-3D creator, the first step is to upload your design. You can upload anything from found illustrations to patterns and shapes. Tip #1: If you are making a drawing, black and white works best where the black is the outline of your design and the white represents the empty space. We also recommend using thick lines so your product can be printed in a greater variety of materials (minimum wall thickness for materials vary from 0.3 mm to 3.0 mm). Tip #2: If you are printing a word or a phrase, make sure the edges of the letters and characters are touching, so you can print in one piece instead of multiple ones.
![]() Step two: Customize Your Design
Step two: Customize Your Design
Now that your design is in the creator, it’s time to adjust its size to your taste and needs. On the app, there are sliding scales and backing options that allow you to play with the design’s customizations. You can set your object to be as small as 5 millimeters or go all the way up to 100 millimeters. We suggest working with a ruler on hand in order to help you tangibly visualize sizes. You can also add one of two loop designs to make this a keychain, or choose “none” if you prefer to keep the design as is.
![]() Step three: Print Your Original Design
Step three: Print Your Original Design
Once you’re happy with your creation, it’s time to send it to our printers. Simply hit “Create My Keychain” to convert this into a 3D modeling file, then click on “View Model” to proceed to the next page where your model will be automatically checked to ensure printability in a range of materials suitable for your model size. If this is one of your first 3D printed products, we suggest using our Versatile Plastic, which is great for prototyping. Once you’ve selected your desired material and finish, follow the checkout page to complete the process. It’s really that easy!
Now it’s time for you to take what you’ve learned and actually create something. Test out your new skills by uploading a 2D design into our custom creator. Happy making!


