It’s back-to-school season, so this week’s Tutorial Tuesday will focus on using 3D printing and design to enhance learning of another subject: 3D design and printing for electronics. Specifically, we will explore a brand-new feature in free online 3D design software Tinkercad that combines 3D printing and circuit design, based on Electronics Lab and 123D Circuit.io from Autodesk Circuits.
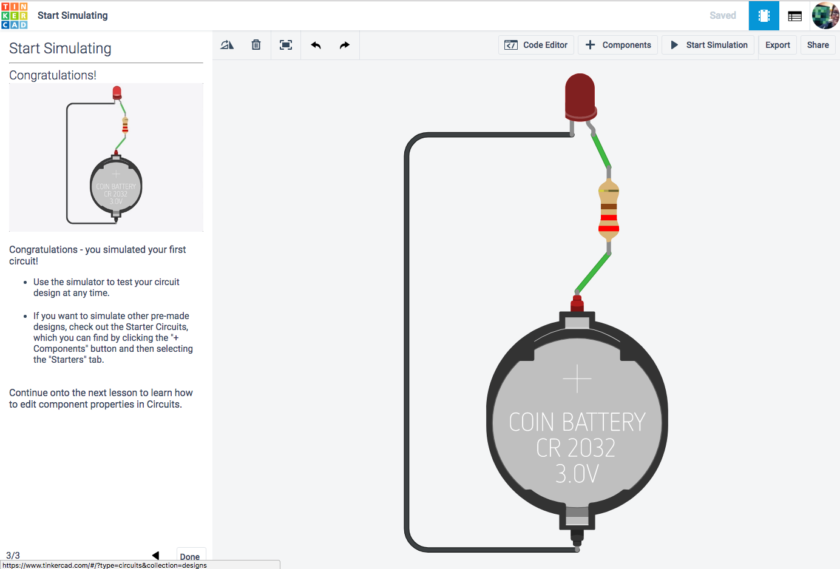
What’s new is that Tinkercad has integrated some custom circuit components and assemblies that allow you to easily incorporate button-cell batteries, switches, motors, and LEDs. You can also design, code, and run virtual circuits that use resistors, Arduino boards, and more, right from inside Tinkercad. Here’s the official Circuits Update Video from Tinkercad:
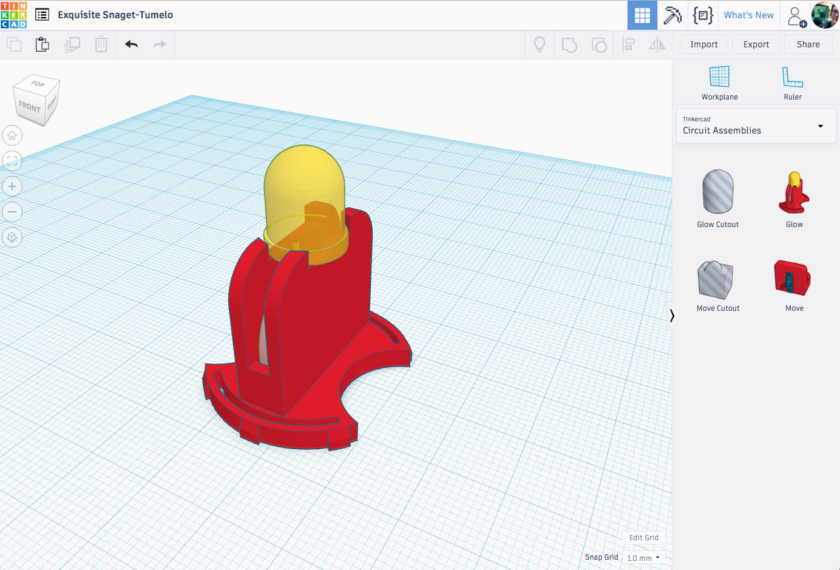
With Tinkercad’s new circuits feature, you can design 3D-printable objects that fit exactly around LEDs, batteries, or other electronic components. To get started, log into Tinkercad and click on the new Circuits menu item in the left sidebar, then click Try Circuits to launch a series of lessons on using the new circuit-building tools.

To incorporate electronic components into your 3D designs, just drag them in from the Circuit Assemblies menu in the right sidebar. There are only a few options in this menu right now, but knowing Tinkercad, this list will get longer very soon!

For a deeper dive into the circuit-building part of this new Tinkercad update, check out the video Arduino Electronic Circuits in Tinkercad Tips and Tricks #5, from CHEP 3D Printing & Electronics.
Have you created 3D printed models around Tinkercad circuits, or do you plan to? This feature is brand new and we’d love to hear about how you’re using it to create 3D prints.


