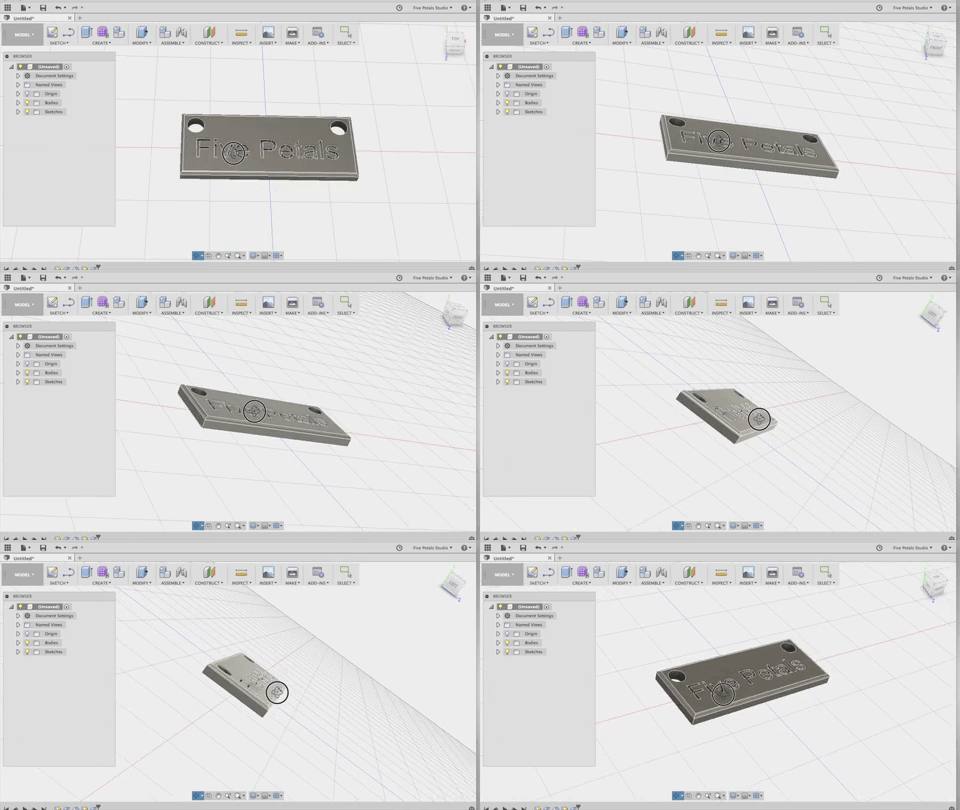
What if you want to get started with 3D printing, but aren’t interested in plastic tchotchkes and want to make something you will actually keep? Step up your design game and learn to create a custom engraved bar pendant. Digging through 3D modeling tutorials, it’s very difficult to find a tutorial that will give you more than a mechanical part. Thankfully, Dee of Five Petals Studio has developed a video series that will get you started creating jewelry using Fusion360.
In this tutorial, you will be introduced to Autodesk’s Fusion360, a very powerful and free cloud based 3D modeling software. Meaning, you can access your work from any computer with a wi-fi connection and the Fusion360 application.
With a few simple steps you can go from a blank canvas to a completed pendant design!
All set? print it now
You can follow along with each step of the tutorial (and get some extra design tips) below:
Step 1. Create the shape of your pendant.
In this example Dee uses the rectangular tool to create a bar pendant. However, you can use the circle tool or line tool to draw any shaped pendant you would like. Select the top plane, then draw your pendant shape. Imagine you are looking at the pendant from an arial view. Next use the measurement tool to select one side/line of your shape. You can then select the measurement to change it to the size you desire.
Step 2. Add the holes for the chain
For this tutorial, you will need to create a holes in your pendant in order to have the design hang from a chain. Using the line tool, you can create guidelines to help make sure your chain holes are centered and evenly spaced. You will then use the circle tool to create the holes for your chain. You will want to make sure that these holes are at least 3mm in diameter so that the chain can easily fit through.
Step 3. Turn your drawing into a 3D Object/Pendant
Using the extrude tool, you will select the pendant design. As a note, make sure that you do not have the chain holes selected while you are extruding as the chain will need to go through these spaces. Enter the thickness you would like to extrude; this will determine how thick you would like your pendant. In this tutorial we make the pendant 2mm thick.
To give the edges a slight rounding we will want to use the fillet tool. Select the fillet tool, then select all of the edges of your pendant by holding shift and selecting each side. Then you will enter 0.5mm in the radius field and hit enter. This will then give your whole pendant a smooth edge.
Step 4. Engrave your custom message in your pendant
Now that your pendant is created, it is time to add your custom text. Using the text tool select the area on the pendant where you would like the text to start. Type the name or saying in the text field, and it will automatically appear on your design. You can then drag the circle indicator next to your text to rotate the message or move the text’s location on the pendant using the compass. In the height field, enter the size of the text you would like on your pendant.
Now you will need to engrave or extrude the text so that it will be a part of the your 3D object. Select the extrude tool then select the text. You can then select “cut” if you would like the text engraved or keep it on “new body” if you would like raised text. Now enter the height or depth of the text you would like to add. In the height field enter either -1mm if you would like it engraved or 1mm if you would like raised text. Hit enter, and you have created your first pendant 3D model!
Step 5. Download your file and upload directly to Shapeways
Select “save” and give the design a name, then you can add it to the folder you would like. Then select “save as an .STL file” and save to your desktop.
Once you download your completed pendant, you can upload directly to Shapeways. This means it will be ready to be printed in any of our 60+ materials and finishes including gold, brass, bronze, silver, or steel.
Ready to print? Upload here
For more on how to create with Fusion360, you can check Five Petal Studio’s other tutorials or Fusion360’s tutorial hub.


